No products in the cart.
Blog, Gifts By Theme
How to Make A Minecraft Birthday Shirt With Free SVG File
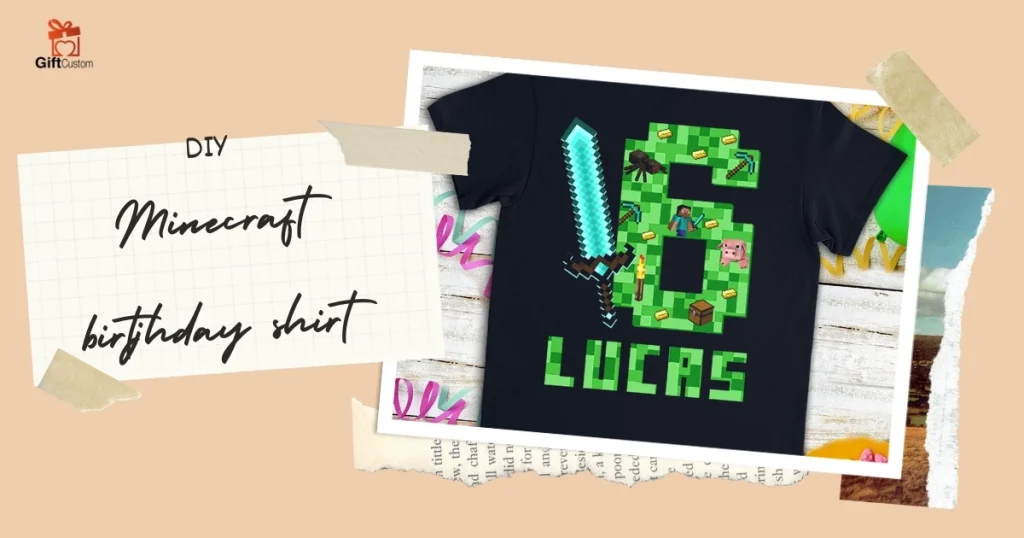
Have you ever tried making a special birthday shirt for your kids? It’s truly a delightful experience, and I love seeing the excitement on my children’s faces when they wake up to find a unique shirt designed just for them. With each passing year, I strive to create something that captures their current interests and brings joy throughout the year. From Encanto and Elsa (Frozen) to Spiderman, and more. As my kids are getting older, they aren’t as fond of the characters and would prefer a birthday shirt with just the number on it. My son who is going to be 6 on Saturday, is obsessed with the Minecraft game. Inspired by his passion, I decided to design a Minecraft birthday shirt with a free SVG file at Giftcustom!
Finding the Perfect Minecraft Birthday Shirt SVG
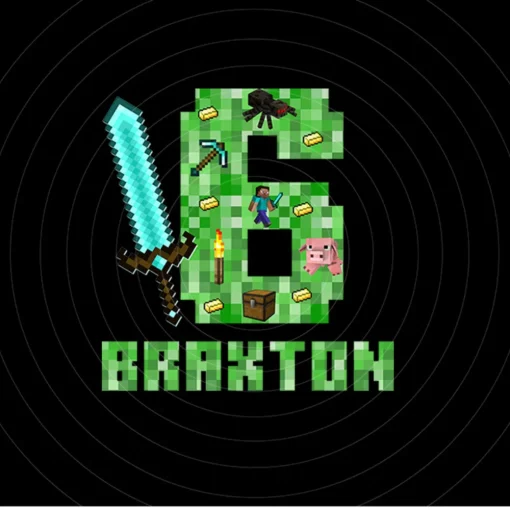
Before we jump into the crafting process, it’s essential to find a suitable Minecraft birthday shirt SVG that captures the essence of the game. Luckily, Giftcustom offers a fantastic selection of free SVG files, including captivating Minecraft-inspired designs. Head over to Giftcustom and explore our collection to discover the perfect SVG file that matches your child’s style and preferences. In this tutorial, I chose a design that I think will suit my 6-year-old.
Materials You’ll Need
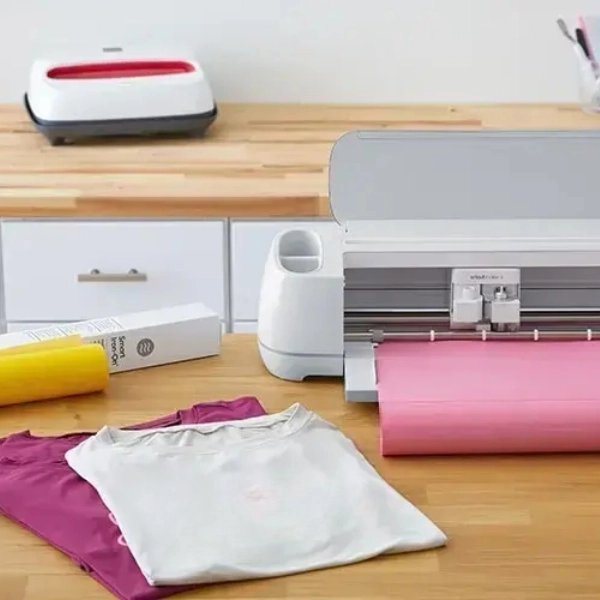
Now that I have our Minecraft birthday shirt SVG in hand, it’s time to gather the necessary supplies before I start crafting. Following the steps I’ve learned from previous projects, here’s a list of what we need:
✔️ Blank shirt: Choose a high-quality blank shirt in your child’s preferred color. Look for soft and comfortable fabrics to ensure they’ll love wearing it throughout their special day. In this guide, I choose a t-shirt with 100% cotton fabric.
✔️ Heat Transfer Vinyl (HTV): Select HTV in colors that align with the Minecraft theme. Shades like green, brown, and black work splendidly to mimic the game’s iconic look.
✔️ Silhouette Machine or another digital craft cutting machine: These machines simplify the cutting process and allow for precise design execution.
✔️ Heat Press or Iron: To transfer the design onto the shirt, I need a heat press or an iron. Ensure to follow safety guidelines while operating these tools.
✔️ Giftcustom Free Minecraft Birthday Shirt SVG File: Download the free Minecraft birthday shirt SVG file from Giftcustom. This file will serve as the blueprint for my design.
- Our team has a general guide to downloading the digital file for free at Giftcustom.
Step-by-Step Guide
Now that we have everything ready, let’s dive into the step-by-step tutorial on creating a unique Minecraft birthday shirt:
Step #1: Preparing the Design
I will open the Minecraft birthday shirt SVG file in my design software. Adjust the size of the design according to the blank shirt’s dimensions. Ensure it fits well and suits the child’s preferences. Make any desired personalization tweaks, such as adding their name or age to the design.
Step #2: Cutting the Design
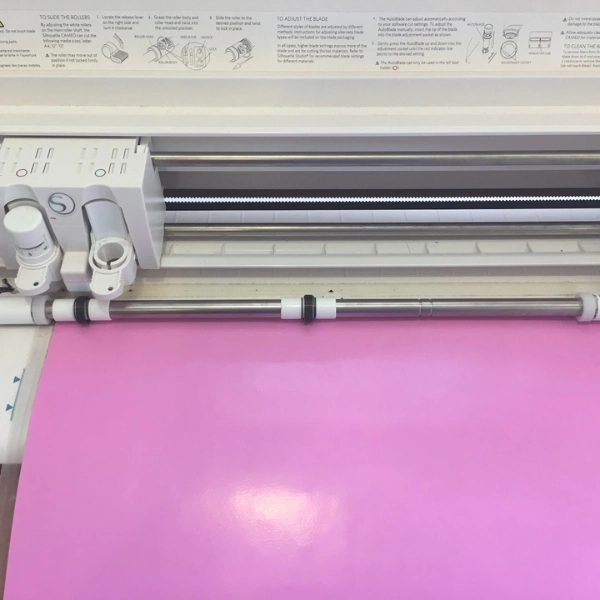
Load the selected heat transfer vinyl onto the cutting machine, securing it with a cutting mat or cutting directly from the roll. Use the appropriate settings for your machine and perform a test cut to ensure precise and accurate cutting. Once satisfied with the settings, proceed to cut out the design from the heat transfer vinyl.
Step #3: Weeding and Preparing the Shirt
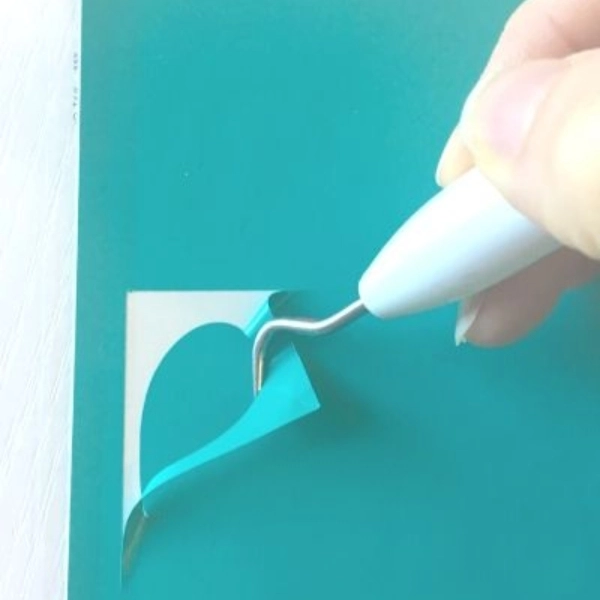
Carefully weed away the excess vinyl around the design, leaving only the desired shapes intact. Preheat your heat press or iron according to the heat transfer vinyl’s instructions. Place the blank shirt on a flat surface, ensuring it’s wrinkle-free and ready for the design.
Step #4: Transferring the Design
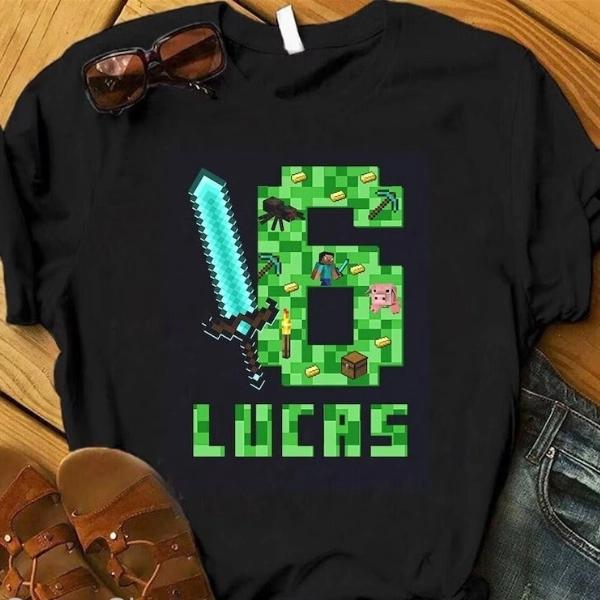
Position the weeded design onto the shirt, ensuring it’s centered and aligned as desired. If using an iron, place a thin cloth or parchment paper over the design to protect it during the transfer. Apply heat and pressure using the heat press or iron, following the recommended instructions for the heat transfer vinyl. Allow the design to cool before carefully removing the carrier sheet to reveal your stunning Minecraft birthday shirt.
I hope you found this blog post helpful and informative. If you did, please share it with your friends and family who might also be interested in making or buying a Minecraft birthday shirt.
Thank you for reading and happy crafting!

