Blog, Gifts By Theme
How to Customize Your Own Spiderman Birthday Shirt With SVG File
If you’re on the hunt for the perfect Spiderman Birthday Shirt for your little superhero, look no further. In today’s blog post, I’ll guide you through the simple and fun process of customizing your very own Spiderman Birthday Shirt using an SVG file. And the best part? You can get a free Spiderman Birthday Shirt SVG at Giftcustom. Let’s dive in and make your child’s special day even more memorable with a personalized Spiderman birthday shirt!
Related: Exclusive Spiderman Birthday Shirt: Where to Find Them?
Supplies You’ll Need:

Before we get started, make sure you have these supplies on hand:
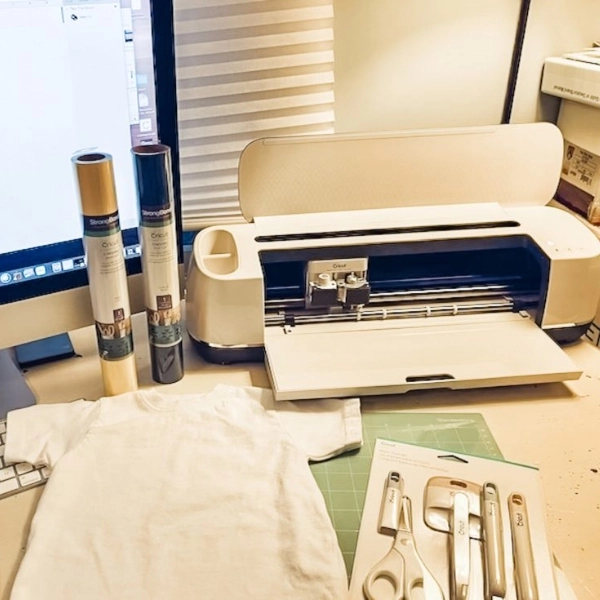
✔️ Vinyl craft weeder – A handy tool for removing intricate vinyl pieces.
✔️ Blank T-Shirts
✔️ Vinyl cutting machine – I use and highly recommend the Cricut Explore Air 2.
✔️ Iron – Make sure it has a cotton heat setting for the best results.
✔️ Linen napkin or scrap fabric – Choose a white one to visualize the design.
✔️ Cutting Mat
Step-by-Step Guide
Now that we have all the supplies ready, let’s jump into the step-by-step process of creating your customized Spiderman Birthday Shirt:
Step #1: Download the Free Cut Files:

Head over to Giftcustom and download the free Spiderman Birthday Shirt SVG files. These files are compatible with various cutting machines that support SVG files. Feeling excited? I bet you are!
In case, you have difficulties in downloading SVG files, don’t worry! Check out this guide to learn how to download free Digital files from Giftcustom.
Step #2: Prepare the Vinyl:

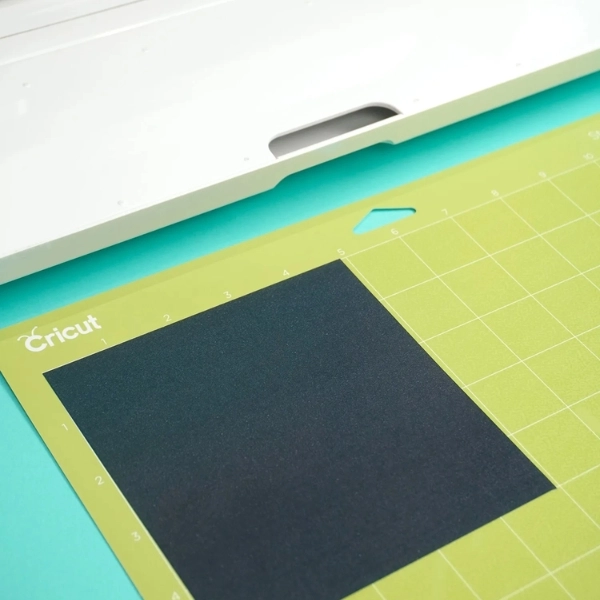
Load the heat transfer vinyl onto your cutting mat, ensuring the shiny side faces down. This is crucial, as cutting with the wrong side up won’t yield the desired results.
Step #3: Load and Adjust the File:
Load the cutting mat into your vinyl cutting machine. Ensure that the cut file is appropriately sized for the T-shirt you’ll be using. Don’t forget to mirror the file, so the design appears correctly when transferred onto the shirt.
Step #4: Cut and Weed:
Let your cutting machine work its magic and cut the file. Once done, carefully weed out any tiny, unwanted vinyl pieces, ensuring you don’t damage the design. Patience is key here!
Step #5: Prepare for Ironing:

Remove the vinyl backing, leaving your design on top of the plastic cover. If the plastic cover is fully cut through, cut it again, aiming for a precise “kiss cut” that only cuts through the vinyl. Trust me; this will make your job easier during the ironing process.
Step #6: Iron Your Design:

Flip the vinyl, placing it vinyl-side down onto the desired spot on your T-shirt. Cover your design with a linen napkin or scrap fabric, and iron it using a cotton heat setting. Start from one part of the design, gradually moving to others, focusing on the edges and intricate details.
Step #7: Check and Cool:

Remove the fabric and cautiously peel off the plastic covering, ensuring that the vinyl design has adhered correctly to the fabric. If there are any spots that need extra attention, replace the plastic, fabric, and iron again. Once done, let your shirt cool, and voila! Your amazing Spiderman Birthday Shirt is ready.
Conclusion
Congratulations on creating a one-of-a-kind Spiderman Birthday Shirt that will make your little hero’s day truly special. This customization process, coupled with the free Spiderman Birthday Shirt SVG from Giftcustom, offers a fun and creative way to celebrate your child’s love for our friendly neighborhood Spiderman.
Remember, customization adds a unique touch to any occasion, and with Giftcustom, you’ll find an array of options to make your child’s special moments even more memorable. So, what are you waiting for? Unleash your creativity, grab that SVG file, and personalize a Spiderman Birthday Shirt that your little one will cherish forever.
If you are a busy parent, don’t worry, check out our exclusive Spiderman birthday shirt. Head over to Giftcustom and explore their collection that’s designed to make your child’s birthday party a true spectacle.
Happy shopping and celebrating, my fellow parents!

