Blog, Gifts By Theme
How to Make a Perfect Personalized Minecraft Birthday Shirt for Your Kid
Step 1: Choose a design for your personalized Minecraft birthday shirt
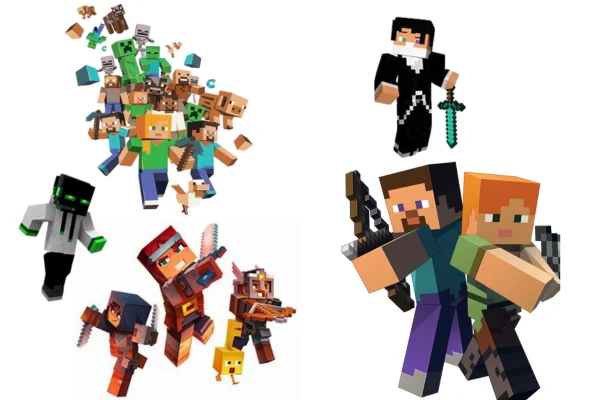
The first step is to choose a design for your personalized Minecraft birthday shirt. You can use one of the many templates available on Giftcustom or create your own using an image editing software. Here are some tips on how to choose a design:
- Consider your child’s interests. What are their favorite Minecraft characters or blocks? What colors do they like?
- Think about the occasion. Is this shirt for a birthday party, a special event, or just everyday wear?
- Choose a design that is age-appropriate. If you are getting a shirt for a younger child, you may want to choose a simpler design.
- Make sure the design is high-quality. You want the shirt to look good and last for a long time.
Here are some of the designs available on Giftcustom:
- Characters: Steve, Alex, Creeper, Enderman, Zombie, Pig, Chicken, etc.
- Blocks: Dirt, Grass, Stone, Wood, Brick, etc.
- Items: Sword, Pickaxe, Axe, Shovel, Hoe, etc.
- Symbols: Heart, Diamond, Emerald, Gold, etc.
If you want to create your own design, you can use an image editing software like Photoshop or GIMP. You can also use online tools like Canva or PicMonkey. Here are some tips on how to create your own design:
- Use a high-resolution image of your child’s favorite Minecraft characters. You can find them on the [Minecraft Wiki] or on Google Images.
- Add your child’s name and age using a font that matches the style of the game. You can find some free Minecraft fonts on [FontSpace] or [Dafont].
- Add some background elements like blocks, grass, sky, or clouds to make the design more interesting and colorful. You can use the [Minecraft Texture Pack] or [Minecraft Background Maker] to create your own backgrounds.
Step 2: Print your design on a shirt
The next step is to print your design on a shirt. You have two options for this: using iron-on transfer paper or using a professional printing service.
Option 1: Using iron-on transfer paper
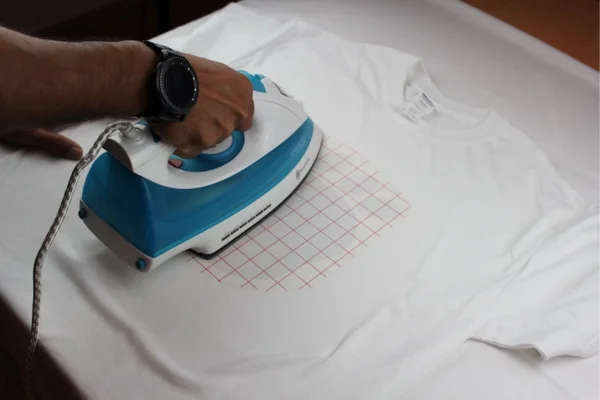
- Cut out your design from the iron-on transfer paper using a pair of scissors. Make sure to leave some margin around the edges of the image.
- Place the iron-on transfer paper on top of the shirt with the image facing down. Make sure to position it where you want it to be on the shirt.
- Set your iron to the highest temperature setting and wait for it to heat up.
- Carefully press the iron over the iron-on transfer paper for about 15 seconds. Move the iron slowly over the entire image until it is completely transferred.
- Peel off the iron-on transfer paper carefully while it is still hot. Be careful not to burn yourself or damage the image.
- Let the shirt cool down completely before wearing it.
Option 2: Using a professional printing service
If you don’t have an iron or you want a more durable and professional result, you can use a professional printing service to print your design on a shirt. There are many great options available, but here are three of our favorites:
- Giftcustom: This website is a great choice for those who want a high-quality and affordable printing service. They offer a wide variety of shirt styles and colors, and they can print your design in full color.
- Etsy: This website is a great place to find unique and creative designs. You can browse through thousands of listings from independent artists, and you can often find custom-made shirts that you won’t find anywhere else.
- Pinterest: This website is a great place to find inspiration for your custom t-shirt design. You can search for specific designs or browse through popular pins, and you can even create your own board to collect your favorite ideas.
To use a professional printing service, you will need to:
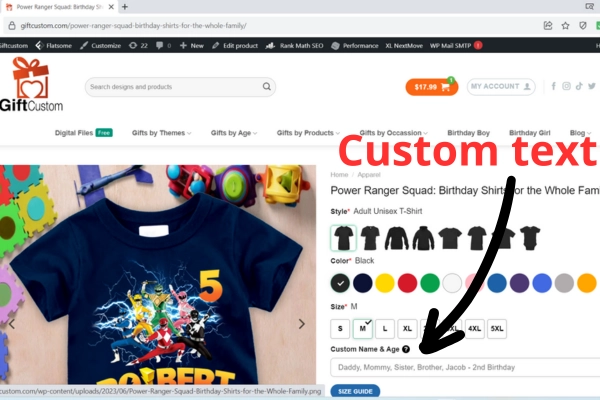
- Upload your design to the website of your choice and follow the instructions to customize your shirt.
- Choose the quantity, size, color, and style of your shirt.
- Enter your shipping and payment details and place your order.
- Wait for your shirt to arrive in the mail.
Step 3: Add some finishing touches to your personalized minecraft birthday shirt
Now that you have printed your design on a shirt, you can add some finishing touches to make it more personalized and fun. Here are some ideas:
- Add some glitter or glow-in-the-dark paint to make your shirt sparkle or glow at night.
- Add some buttons, patches, stickers, or pins to decorate your shirt with more minecraft elements.
- Add some ribbons, bows, or pom-poms to make your shirt more girly or festive.
- Add some beads, sequins, or rhinestones to make your shirt more shiny or glamorous.
You can use any craft materials that you have at home or buy them at any craft store or online. Just make sure to use a glue that is suitable for fabric and that won’t damage the image on the shirt.
Step 4: Surprise your kid with their personalized Minecraft birthday shirt
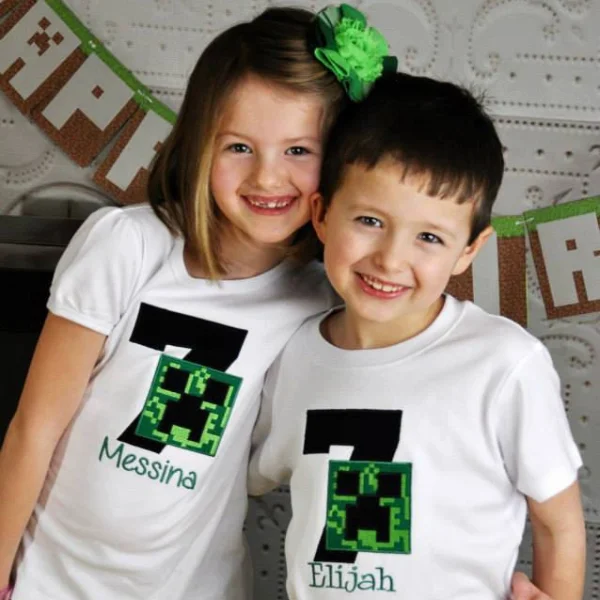
The last step is to surprise your kid with their personalized Minecraft birthday shirt. You can do this in different ways, such as:
- Wrapping the shirt in a gift box or bag and giving it to them on their birthday.
- Hiding the shirt somewhere in the house and making them find it with clues or a treasure hunt.
- Wearing the shirt yourself and surprising them when they see you.
- Making them wear the shirt without them knowing what it is and revealing it to them in front of a mirror.
Whatever way you choose, make sure to capture their reaction on camera and share it with your friends and family. You can also post it on social media with the hashtag #personalizedminecraftbirthdayshirt.

